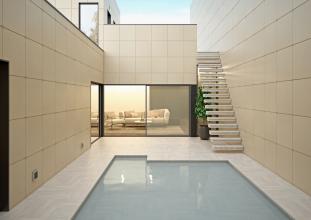
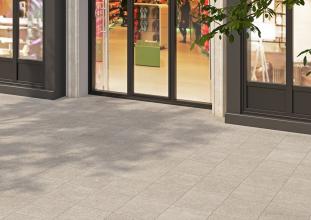
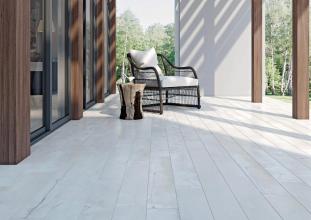
Such tile is suitable for not only the classical laying when you use adhesive and bonded screed, but also for swimming pools and parking zones facing. Gres with thickness of 20 mm also can be installed by a dry method: on the floor of terraces and patios, on the surface of the exploited flat roofs and as a cover for garden paths.
20 mm thick gres has a long service life, as well as excellent exploitation and aesthetic characteristics. In the sphere of exterior laying on surfaces, it far excels other materials, including natural stone. Tiles of 20 mm gres (60×60 cm or 45×90 cm formats), capable of withstanding weight over 1000 kg. The surface of the tiles has a high resistance to sliding, effects of salts, acids and other reactive substances. Minimal moisture absorption, even in comparison with the natural granite, prevents the formation of mold and moss on the material, and a long scale of tones and designs exceeds the available choice of wood and stone natural patterns. Besides, the similarity of gres with natural materials offers great opportunities of its application in landscape design and building structures.
Gres with thickness of 20 mm is distinguished by the extreme ease of laying. If necessary, gres tile weighing 16-18 kg, laid by a dry method, can be installed or removed in a few seconds (to reinstall) without making complex construction works.
Three methods of the thickened gres installation
The method of laying the tiles is selected depending on the purpose and operation mode of the surface. The most commonly used methods:
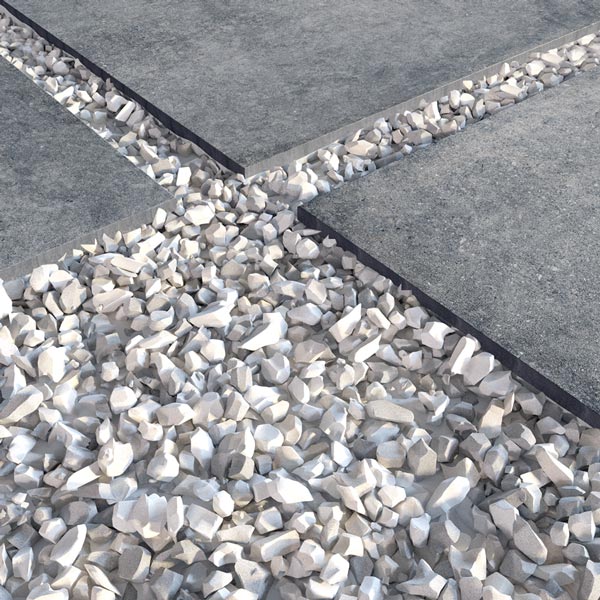
• Installation by a dry method on grass, sand, ground or gravel is used to create footpaths and open areas for relaxing in the garden. Possible temporary and seasonal usage of thickened gres to face terraces, patios and other similar structures.
• Traditional installation on the bonded screed is suitable for streets and buildings with high and intensive traffic on the surface. The traditional thickened gres has demand in the organization of parking areas, facing public and industrial facilities, swimming pools, etc.
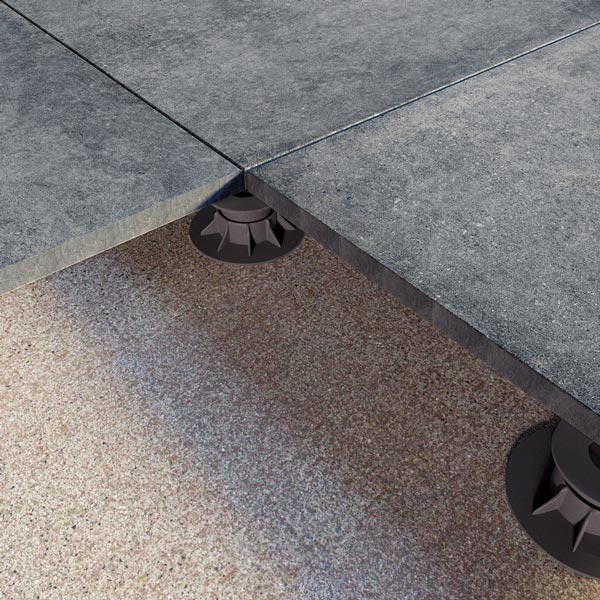
• Laying on the plastic supports is an excellent method when you decided to install raised floors with the possibility of having hidden utility networks. In this case, between the surface of the base and the tile remains an open space where it is possible to place electric cables, water pipes and other utility systems. At the same time, tile joints are left open and used to drain precipitation. Such method of installation is in demand for the exploited roofs’ improvement, as well as terraces.
Installation of the thickened gres by a dry method
When you use a dry installation of gres, it is necessary to ensure the water derivation for the normal exploitation of the flooring. For this, drainage is used and the surface slope of the ground layer base is formed. Moreover, to prevent germination of plant roots and separate the drainage layer from the ground, geotextile using is widely spread.
• Dry laying on the ground (gravel). First, remove a layer of the ground 15-20 cm thick and tamp the base, ensuring a 2% slope for water derivation. A layer of landscape geotextile is placed on the bottom of a deepening above which gravel or crushed stone of 15-35 mm fractions is put with a layer of 8-12 cm and then it is tamped. Next, put another layer of geotextile with a supporting layer of 4-8 mm gravel with a thickness of 5 cm, and again tamp, maintaining a 2% slope. Place gres tiles on the gravel, while leaving joints with a thickness of 5 mm. For better adhesion to the supporting layer, tap the tile with the help of a rubber hammer. If it is necessary, close the tile joints with washed or polymeric sand, which passes the water. The joints with a thickness of 2-3 cm or more can be left empty.
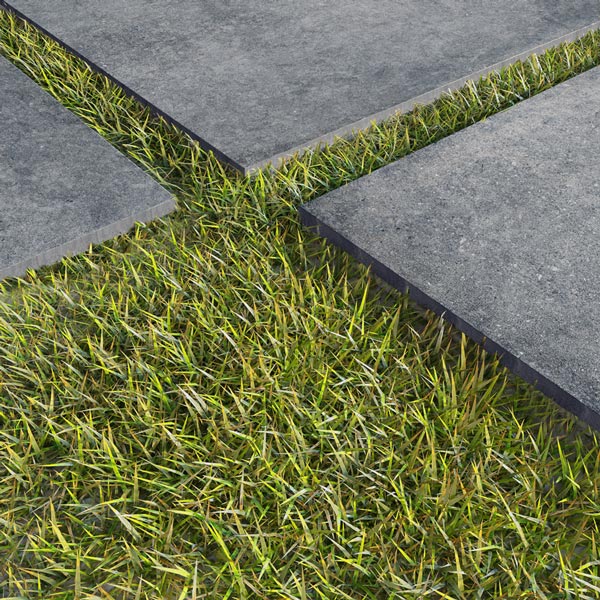
• Dry laying on the grass. First, it is important to remove top soil from the surface of the lawn with a layer of 5-6 cm, which exactly corresponds to the size of the tile. Then, you need to tamp the base and put the supporting layer of the gravel fractions of 4-8 mm so that when installing the 20 mm tile the height of the cut grass will be at least 1 cm above the surface of the gres. The recommended thickness of the joints between tiles, where the lawn is usually placed, should be from 2 cm.
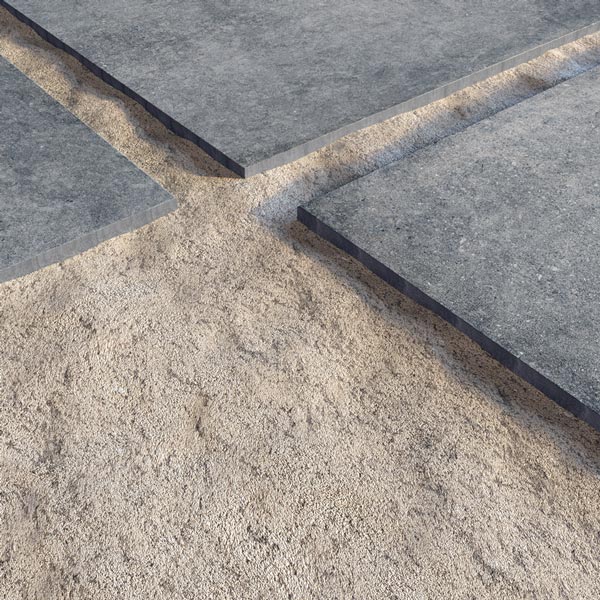
• Dry laying on the sand. It is possible to lay 20 mm tile on the sand, for example to face the beach area. All that you need, is to level the sand out and accurately put the tile, leaving the joints at least 2 cm thick. After that, do not forget to tap the tiles with a rubber hammer and level them.
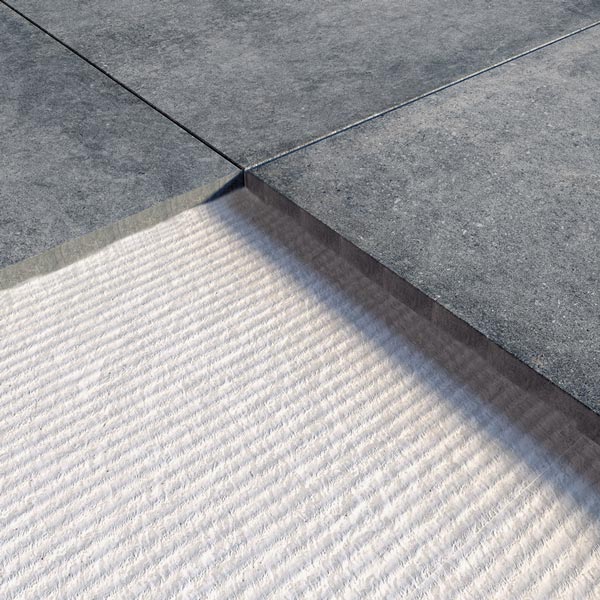
Traditional installation on the bonded screed
• Preparation of the base. Outside, thickened gres tiles can be laid on a specially prepared bonded screed within 5 cm thickness reinforced with a metal mesh. It will be convenient to put the bonded screed on a concrete base of 10-15 cm thick, which is poured over a 10-cm layer of crushed stone or gravel fractions of 15-35 mm. The thickness and composition of the layers can change depending on the expected load on the surface. As in the previous case, a 2% slope is required for water derivation.
• Tile laying. The installation is carried out according to the standard technology of applying the adhesive mixture with a serrated spatula on the surface both gres and bonded screed. In general, for external gres laying use various types of the elastic adhesive mixtures on a cement basis. The joints of 4-5 mm thick are created with the help of the outdoor cement grouts. Furthermore, it is important to leave the expansion joints in the tile work every 10-15 m².
Laying on the plastic supports (raised floor installation)
• Preparation of the base. The installation of the gres tiles on plastic supports is provided on the already prepared surface. In the case of outdoor use, for example on a roof or on an open terrace, the surface must be covered with a waterproofing material and have a 2% slope for water derivation.
• Installation of the supports. To do this, use a set of fixed or adjustable plastic supports. They are installed directly on the base surface and placed where the corners of four nearby tiles’ sides adjoined with each other.
• Tile laying. After installation of supports, lay a tile on them by turn and check a surface evenness. For moisture and precipitation removing, lay the tiles with about 1,5 % slope. The position and slope of the tiles are adjusted depending on the type of supports with the help of additional accessories or due to the elements of the raised floor itself. In the places where the tile covering is bonded to the walls, the supports are cut off. The joints between the tiles, which are determined by the spreader width of the supports (usually 3-5 mm), are left empty.
As already mentioned, it is possible to place utilities in the space between the tiles and the surface base. Recommended support height for tiles 60 × 60 cm should not be exceeded 10 cm. When you use supports with a height of more than 10 cm, adhere a glass-fiber mesh to the reverse side for the better tiles’ reinforcement. Besides, if the height of the supports is from 20 to 30 cm, for strengthening the gres tiles, adhere the galvanized steel sheet or use the fifth support in the center of the tile.
